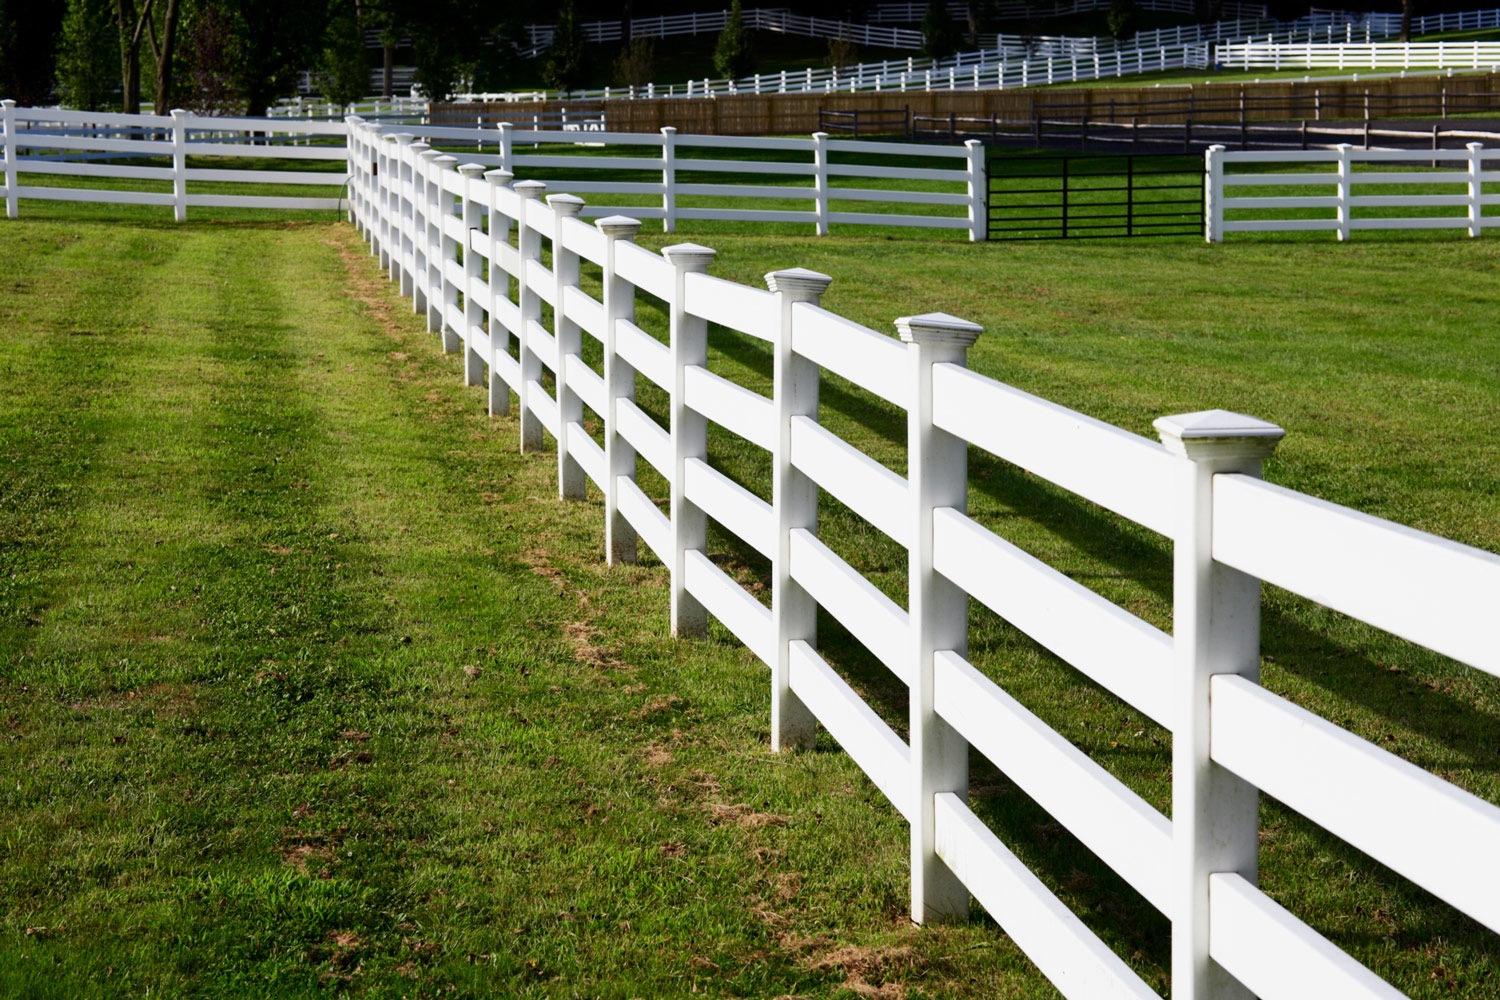
Installing horse fencing requires a significant investment in time, space, energy and money. You will have to take dimensions, location, braces and materials into consideration — and then you will need to sink posts, build corner assemblies, string wire and add gates before the job is finished.
Planning Considerations
Before purchasing material, you’ll have to consider the height of the fences, the corners of your enclosure, the position of your fence relative to lanes and roads, and the materials you’ll construct the fence with.
Height of the Fences
The appropriate vertical height for your fencing depends the purpose of the particular part of land you’re fencing. An exercise paddock will generally require higher fences than grazing areas. Horses trained to jump will require higher fences than those who are not. Horse fences should be 54 to 60 inches above ground level to discourage jumping. On the bottom, the fence should start about 8 inches from the ground. Placing the bottom of the fence lower can cause hooves to become entangled, while placing the fence higher allows unwanted animals such as dogs and coyotes access to the pen. Enclosures with foals can have temporary wooden beams along the bottom of the enclosure to prevent their accidental escape.
Corners and Edges
Using rounded corners allows better access for mowing. It also, importantly, prevents a dominant horse from bullying a less dominant one by trapping him in the corner. Alternatively, placing the fencepost on the horse-side of the pen in the corners softens the corners when the rest of the fenceposts are on the outside.
Lanes and Roads
Horses will try to interact between fenced-in areas, so allow at least 3 feet of gap space between enclosures. Vehicles, especially large farming implements, may be up to 12 feet wide or more, so plan accordingly. Don’t place fences too close to roads, as this may encourage grazing on the roadside, introduce toxic chemicals used in road maintenance, or prevent effective snow removal in the winter. It will also hinder your ability to safely install the fence.
Material Choices
Horses are smart and curious creatures who will deliberately test the strength of fences and see how far they can reach to the other side. For this reason, smooth fencing is a requirement — never use barbed wire for horse fencing. Choose material that is strong enough to withstand a horse leaning against or running into it but is ideally forgiving enough to prevent a galloping horse from injuring herself if she hits the fence by accident.
Installing the Fence
First Posts
Begin by choosing locations for the end posts — these will be the corners of the enclosure. Drive or sink wooden posts, treated with the appropriate chemicals for tensile fencing and of a size appropriate for the material you have chosen, securely into the ground. Once these posts are set, run a string or a single strand of guide wire between the posts to determine where you’ll place your intermediate posts. If your paddock runs over a hill with enough curvature to prevent you from running a string or wire, use two temporary intermediate posts near the top of the hill and sight them to make sure they line up.
Intermediate Posts
Place your intermediate posts 8 to 25 feet apart, depending on the specifications and weight of the material that you are using for your fencing. Measure the distance between end posts and try to space the posts in between as evenly as possible. This will contribute to the structural integrity of the fence and the aesthetic appeal of the finished product. For instance, a 250-foot segment of fence could use 31 posts, ends included, the center of each one 8 feet 4 inches from the previous one; or you could use fewer posts and more space between them if the fence material allows.
Braces for Corners and End Posts
The corners will endure a vast amount of pressure when the fence is strung, especially if you’ve chosen high-tension wire. Make sure these posts are securely staked. Construct corner brace assemblies with 12.5-gauge high-tensile wire in a single- or double-H brace shape. Use a single brace for shorter lengths of fence, a double brace for fence spans of more than 200 feet, or two-way braced line post assemblies every 650 feet in very large areas. An alternative to these can be constructed with a pad of concrete or rock under the end of an additional post that leans back against the first, diagonally and is secured to the end post and braced with strands of tensioned wire running between the diagonal post and the end post.
Stringing the Wire
If you’re using a standard wire fence, secure the wire to the posts in sections, preferably between corners or brace posts. Use a vehicle with substantial traction and pulling power to slowly pull the wire nearly taut once the first end is secured to the far end post. Alternatively, sink a dummy post with a cross-rail and use chain loops with come-alongs. Always use multiple come-alongs to pull the fence tight, alternating between cranking the top and bottom come-along to make sure the fence comes snug evenly. Once it’s tight, cut one of the middle horizontal wires and the vertical wires that attach to it. Unlock and remove the vertical wire pieces, wrap the horizontal wire around the post, and secure it back to the other side of the fence. Be sure to remove any remaining wire ends to reduce sharp edges. Repeat this process for the rest of the enclosure, then install any gates as indicated on the manufacturer’s packaging.

